
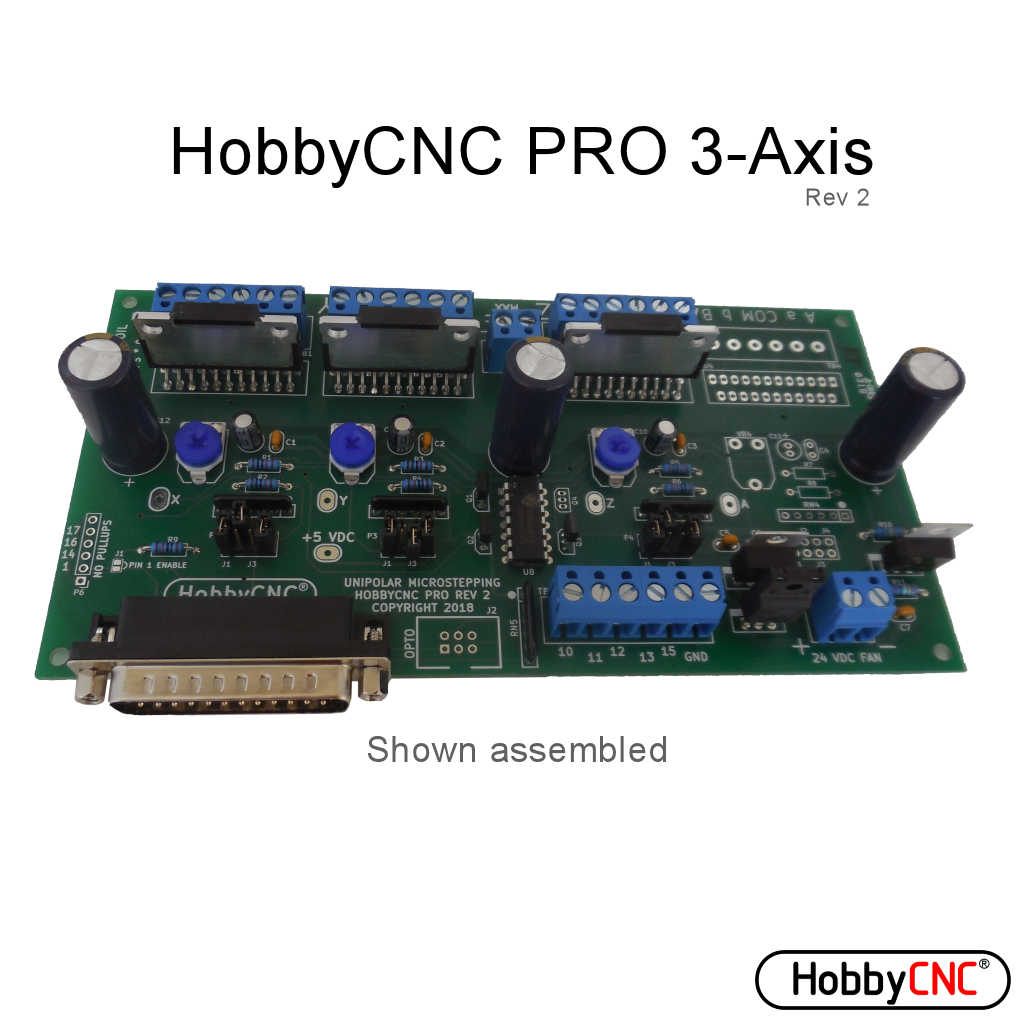

Description
- 3 Axis Unipolar Chopper control.
- Upgradeable to 4 axis.
- Individual OR simultaneous control of 2/4 Phase Stepper Motors.
- Accepts 5, 6, or 8 wire stepper motors only. 4 wire steppers are not usable.
- 42VDC maximum input voltage, 12VDC minimum input voltage. 24VDC Minimum Recommended Voltage. Power supplies above 42VDC are not recommended.
- 3.0 Amps Maximum per Phase, 500ma (.5A) minimum. Each axis adjustable throughout this range.
- 1/1, 1/2, 1/4, 1/8, and 1/16 Microstepping.
- Step and Direction Control.
- Idle Current Reduction (option) via pin 1 enable
- Built In Protection Circuit to help against blown chips on stepper motor short or open connections.
- 3.7″ by 6.8″ double sided with top silkscreen and thru plated holes and lead free solder PCB. (RoHS compliant).
- Power On Reset.
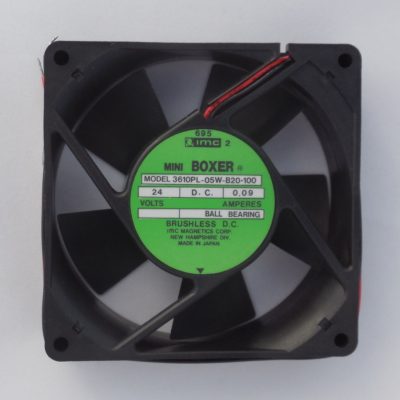
- On board voltage regulation for 5-volt logic with 24VDC cooling fan from motor power supply (fan not included)
- On board connections for home and limit switches with 10K pullup resistor provided to each. No need for a separate “break out” board.
- Minimum of components to make assembly fast and easy!
- Works with Step and Direction software such as LinuxCNC, DeskNC, TurboCNC, Mach3, etc
- RoHS Compliant
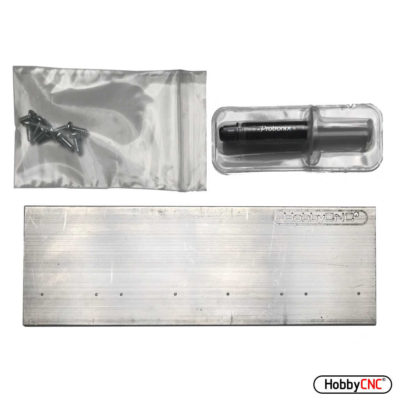
- Optional heatsink for motor current over 2 amps.
- Compare product features
Save time and upgrade to the COMBO Kit.
HobbyCNC PRO COMBO Kits include:
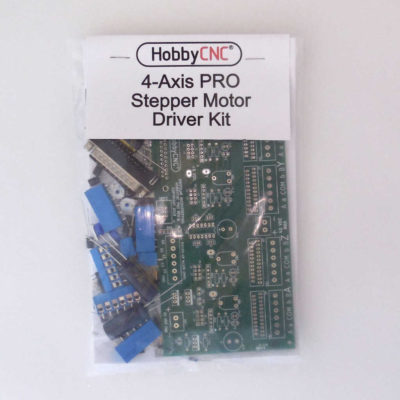
- HobbyCNC PRO Stepper Motor Driver Kit 3 or 4 axis
- Stepper motors in same quantity as driver board channels (sorry no mix of motor sizes)
- 14′ of 6 conductor stranded stepper motor hookup cable
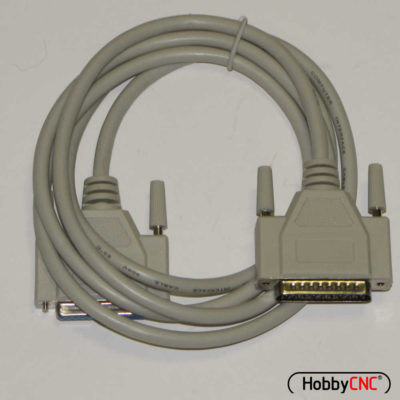
- M-F Parallel port cable 6′ long
HobbyCNC Kits require PCB soldering skills
HobbyCNC PRO Parallel Port Pinouts
| Pin # | Description |
|---|---|
| 1* | Enable (option)* |
| 2 | X Direction |
| 3 | X Step |
| 4 | Y Direction |
| 5 | Y Step |
| 6 | Z Direction |
| 7 | Z Step |
| 8 | A Direction |
| 9 | A Step |
| Pin # | Description |
|---|---|
| 10 | Limit** |
| 11 | A Home** |
| 12 | X Home** |
| 13 | Y Home** |
| 15 | Z Home** |
| 1*, 14, 16, 17 | *** |
| 18-25 | Ground |
* Power Reduction can be enabled (Active High). Refer to the HobbyCNC PRO manual for details.
** Pins 10, 11, 12, 13 and 15 are pulled up with a 10K resistor and are used for home/limit functions. Consult your software as to the type of switches needed. (N.O. or N.C. types). The actual function of these pins is determined in your CAM software.
*** Pins 1, 14, 16 and 17 are not pulled up and are available as needed. Our driver board plays no role other than to provide convenient access to these pins. Pins are made available via solder pads (P6). Nothing is done to these lines on the PRO board.
Reviews
There are no reviews yet.