Here is how my LinuxCNC machine is configured. I started my learning experience with EMC (later renamed LinuxCNC), and it’s been a workhorse ever since. The nicest parts: it’s free, well supported and it makes even an old, underpowered PC work great!
I make no promises or warranties regarding this information, it’s just screenshots from my machine with my ‘best recollection’ notes. I hope it helps.
Start the LinuxCNC step configuration wizard.
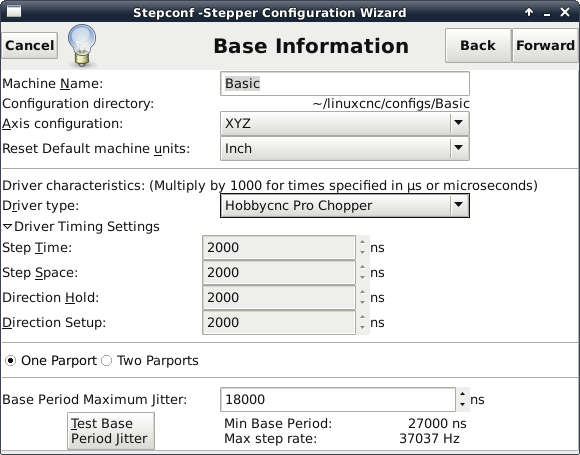
Machine Name: You can have several “machines”. I have one for ‘generic’ milling, a second ‘machine’ with the probe enabled for milling PC boards and a third for use when I test assembled boards.
Driver Type: Pick HobbyCNC Pro Chopper.
Driver Timing Settings: I don’t recall changing these from default.
Select one or two parallel port boards. I have only 1 parallel port in my PC.
Base Period maximum Jitter: follow the instructions in the manual. This is different for every PC.
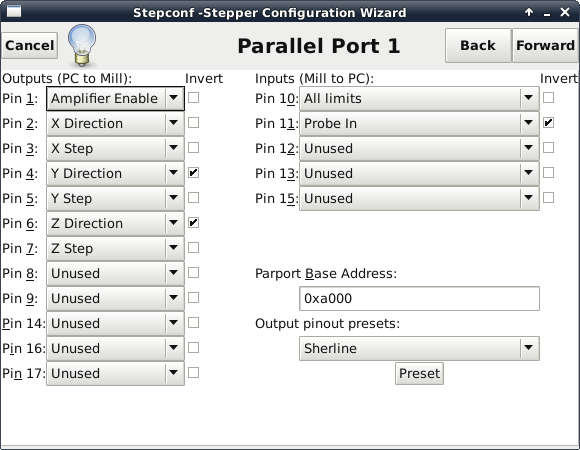
Outputs (PC to Mill)
Set these to match the HobbyCNC PRO or EZ board (these two boards are pinned differently). You will find the pinouts in the manual or in the FAQ: Parallel Port Pinouts
Notice you can invert the signal if the axis is moving the ‘wrong’ direction.
On HobbyCNC PRO Rev 2 boards, you have the option to configure pin 1 as the Enable signal.
Inputs (Mill to PC)
I have all limit switches wired in series (See FAQ Home and Limit Switches) and into Pin 10 of TB5 on the PRO (TB 4 on the EZ)
I have a probe used for the leveling process before milling PC boards set to pin 11 of TB5 (TB 4 on the EZ)
Paraport Base Address: I need to research how I figured this out. For now, Google it.
Output pinout presets: I don’t recall changing this from default.
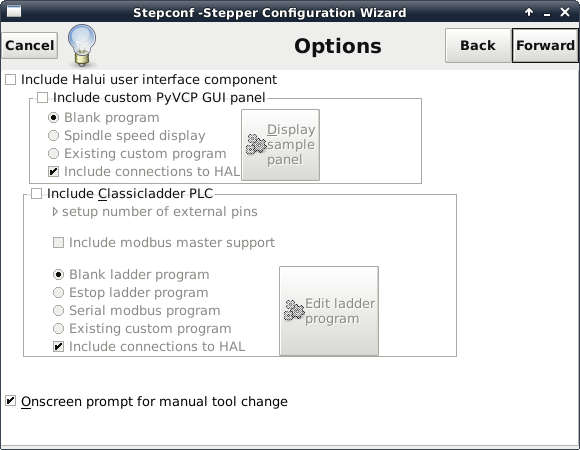
I do not believe I made any changes to this page.
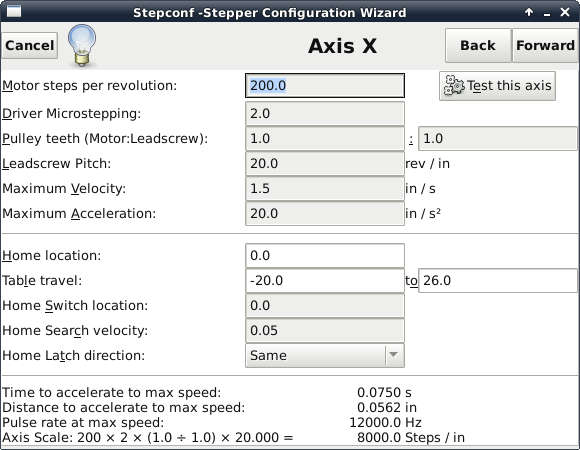
The next three screens (or 4 screens if you have an A axis) are all the same layout.
Motor steps per revolution: All my HobbyCNC Steppers are 200 steps per revolution. This is the most common number.
Driver Microstepping: I found 1:2 worked well for me. Whatever you put here needs to match the jumper settings on the HobbyCNC board.
Pulley Teeth: I have no pulleys, so 1 (one) to 1 (one)
Leadscrew Pitch: My design uses a 1/4-20 threaded rod directly to the motor.
You can use your best guess on the rest. If you have lost steps or motor stalling, back down on the Max acceleration (I think I might have mine too high)
Table Travel: This is designed to prevent your machine (via software) from exceeding the travel of that particular axis. Since I don’t have a home switch, having these numbers too small (conservative) just causes me problems during milling, so I made them larger than the table travel.
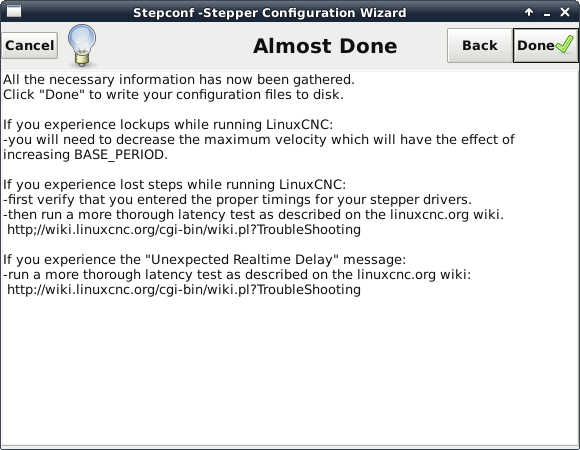
That’s it. Hit “done” to save. You should have a desktop icon that matches the “Machine Name” you entered at the beginning.