
HobbyCNC PRO Home & Limit Switches Connection
HobbyCNC PRO Home & Limit Switch Hookup (PDF)
Limit Switch Wiring
 Limit switches are located at the ends of mechanical travel for each axis. The idea is to shut-down the system should it try to go past its stops. Typically, there are two limit switches per axis, and all are wired in series – such that if any one switch is ‘tripped’ (e.g. “opened”), it will break the circuit and shut down the motors.
All limit switches can be wired to use just one input pin on the HobbyCNC board. You CAN use pin 11, 12, or 13. Most software allows you to pick the pin in the setup.
Routing home & limit switch wiring
Of considerable concern is how to run the wiring for the limit switches. Ideally, you want to keep them far away from “noisy” wires that are connected to the stepper motors. There is a potential for these power wires to ‘induce’ an unwanted current in your limit switch circuit which has the potential to simulate a “limit” situation. This is not a happy time.
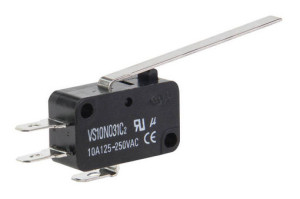
How does a snap-action microswitch work?
Very nice YouTube video by Cecil Colvin
Q: I have a Hobby pro cnc board. I want to use magnetic proximity switches for the limit switches. They come as PNP or NPN. What on will I need for my board?
A: Our board simply provides a convenient method to connect to the DB25 connector. Our board plays NO OTHER part. Period.
Excellent discussion of home and limit switches
In section 4.5 of the Install and configuration guide for Mach3 which can be found on the MACH3 Product Manuals Page.