
Installing Whammy Sleeve
The Whammy Sleeve is designed to return your whammy bar back to (or better than) the original feel.
PRO TIP: You might review the Whammy Repair Base Installation page before starting to get a good understanding of removing and reinstalling the whammy assembly.
1 Prepare
- Open the guitar and remove the whammy assembly.
- Remove the E-Clip (not shown) from the bottom of the whammy bar.
- Remove the whammy bar from the whammy base and remove whatever remains of the current sleeve.
- Have rubbing alcohol available to ‘lubricate’ the parts for assembly.
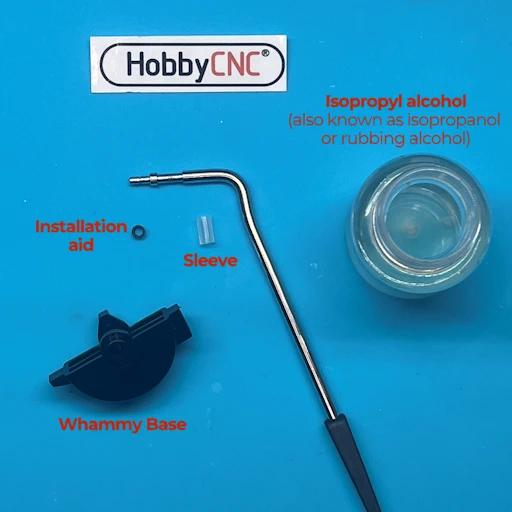
2. Wet with alcohol
Thoroughly wet the end of the whammy bar with the alcohol.
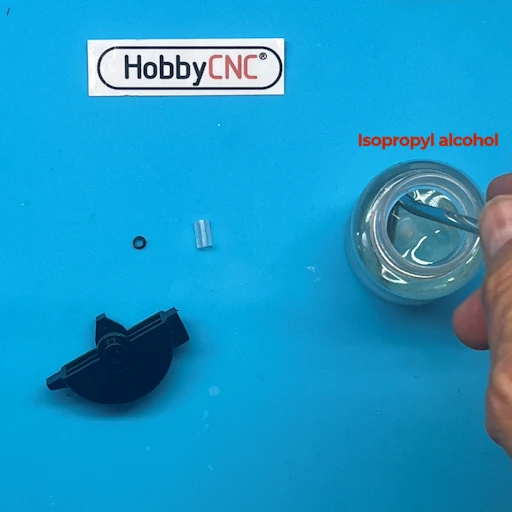
3. Installation Guide
Add the cone-shaped Installation Guide to the end of the whammy bar.
This will provide a ‘ramp’ to make installing the sleeve MUCH easier.
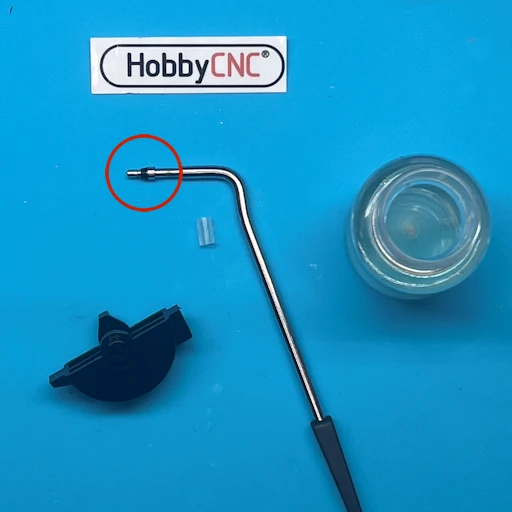
4. Start the Sleeve
Using your thumb or any flat object, start the Whammy Sleeve onto and over the Installation Aid.
Make sure everything is still wet with the alcohol. Re-dip now if necessary.
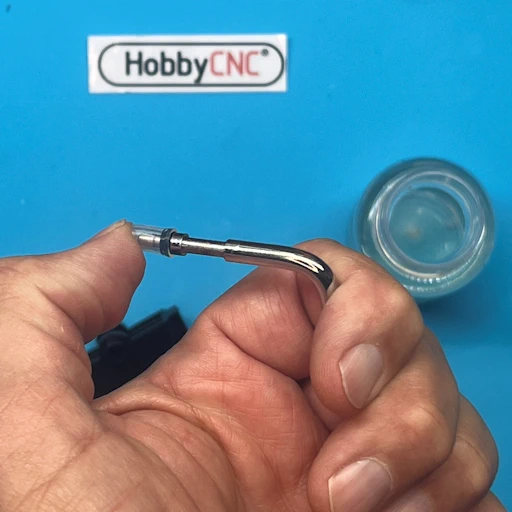
5. Finish installing Sleeve
Use your thumbnails to finish sliding the Whammy Sleeve over the Installation Guide and into the final position
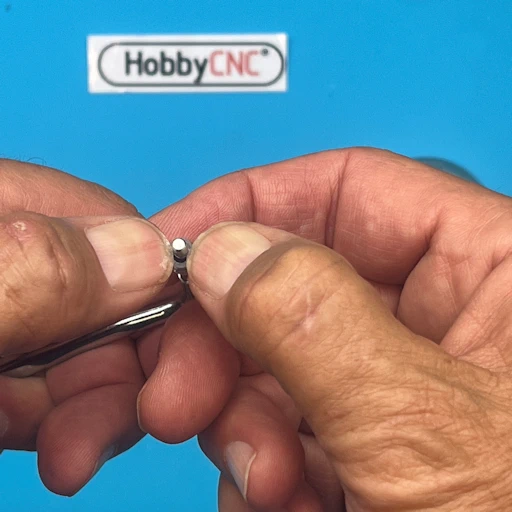
6. Celebrate your half-way point.
Remove the Installation aid.
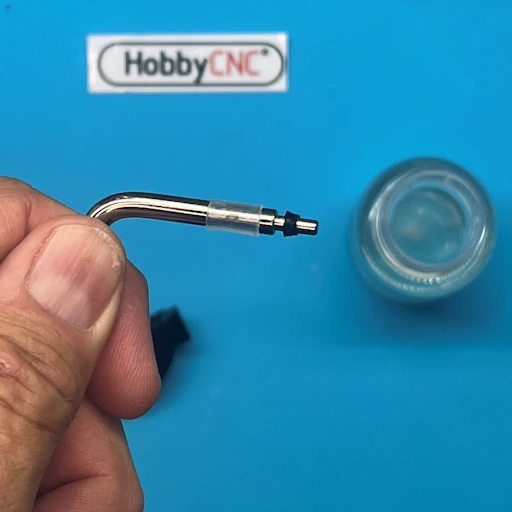
7. Dip in alcohol again
Dip the new Whammy Sleeve in the alcohol.
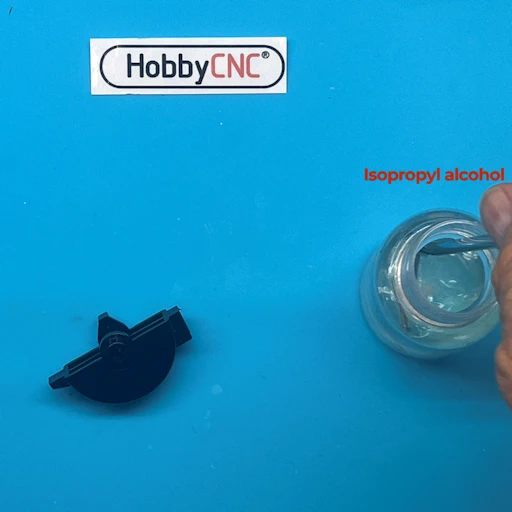
8. Twist-and-push
Carefully yet firmly push and twist back-and-forth to ease the whammy bar and Whammy Sleeve back into the Whammy Base.
NOTE: be careful that the Whammy Sleeve does not ‘bunch-up’ before it is fully installed. Back off, re-dip in alcohol and try again. If there is still too much resistance, you may need to VERY SLIGHTLY enlarge the hole.
There are two Whammy Sleeves in the kit just in case there is any damage on the first try.
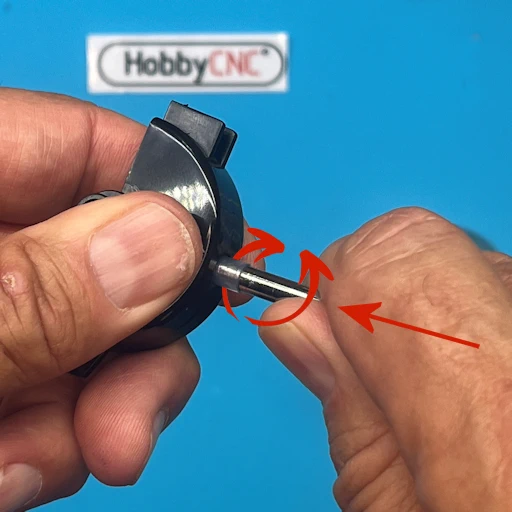
9. Add E-Clip
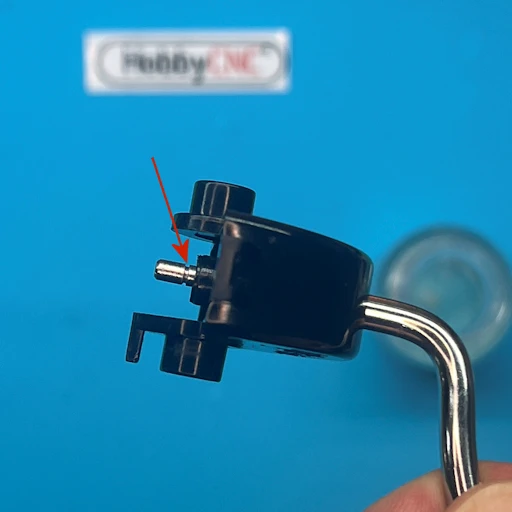
Confirm that the groove for the E-clip is visible (red arrow).
Add the e-clip.
Reassemble and re-install the whammy assembly into the guitar body.
Button ‘er up and enjoy!